
 Deutsch
 Türkçe
 Italiano

.jpg)
.jpg)
.jpg)
.jpg)
.jpg)
.jpg)
.jpg)
.jpg)
.jpg)
.jpg)

.jpg)

.jpg)
.jpg)
.jpg)
.jpg)
.jpg)
.jpg)
.jpg)
.jpg)
.jpg)
.jpg)



.jpg)
.jpg)
.jpg)
.jpg)
.jpg)
.jpg)
.jpg)
.jpg)
.jpg)


.jpg)
.jpg)

.jpg)
.jpg)
.jpg)
.jpg)


.jpg)

.png)
.jpg)
.jpg)
 (200 x 136 px) (5).png)
.png)

More and more restaurateurs and resourceful entrepreneurs are discovering the enormous potential of pizza vending...
-
 Cooking Appliances
add remove
Cooking Appliances
add remove -
-
Pizza & Grill
add remove
-
-
Refrigeration
add remove
-
-
Combi Steamer
add remove
-
-
Kitchen Appliances
add remove
-
-
Rinsing & Cleaning
add remove
-
-
Retail Refrigeration
add remove
-
-
Cafe & Ice Cream
add remove
-
-
Smart-Gastro
add remove
-
-
Event- & Cateringmöbel
-
Cooking Appliances
add remove
-
-
Pizza & Grill
add remove
-
-
Refrigeration
add remove
-
-
Combi Steamer
add remove
-
-
Kitchen Appliances
add remove
-
-
Rinsing & Cleaning
add remove
-
-
Retail Refrigeration
add remove
-
-
Cafe & Ice Cream
add remove
-
-
Smart-Gastro
add remove
-
-
Event- & Cateringmöbel


Call us:
+49 (0) 6135 7040 450Latest posts
-
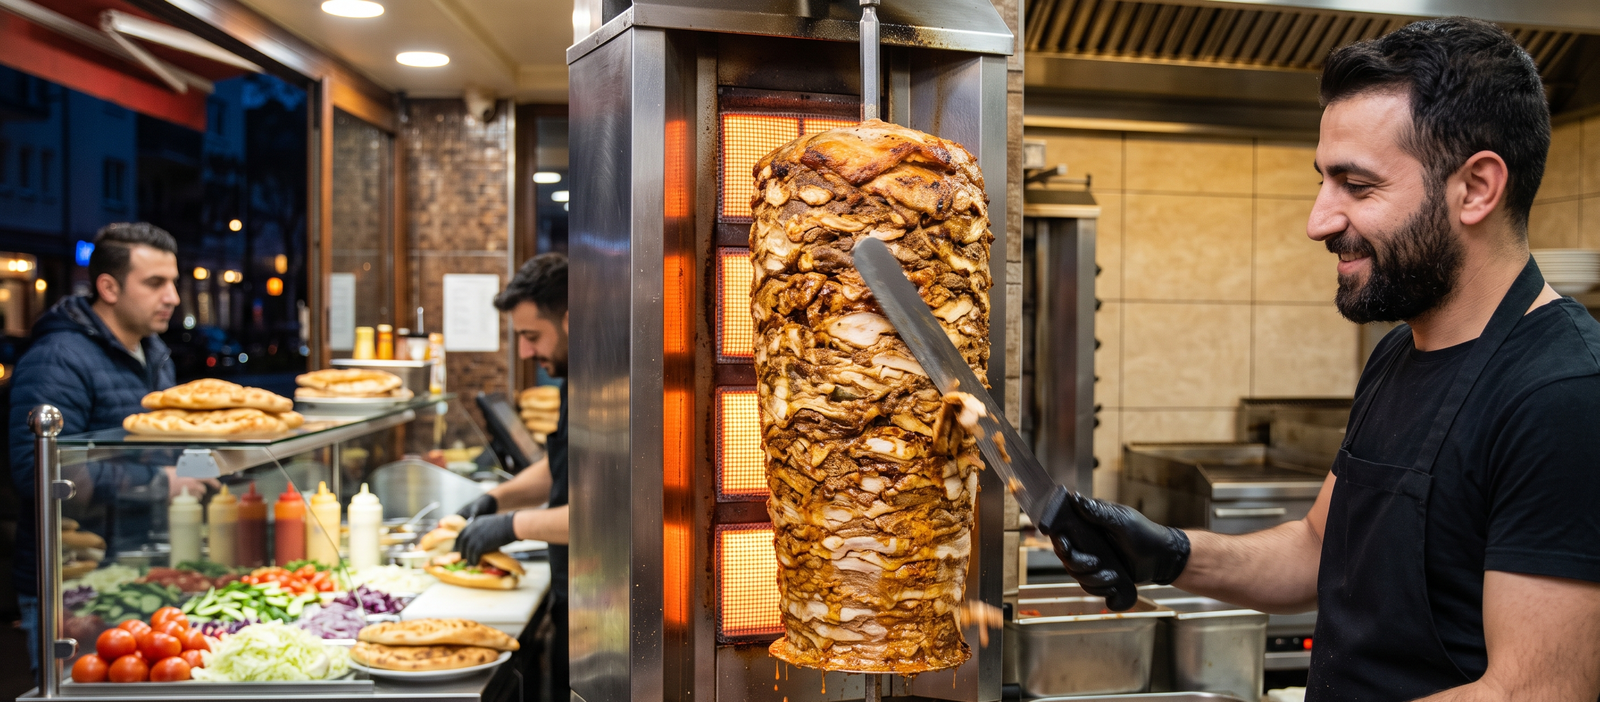 The Ultimate Guide: Pizza Vending Machines – Earnings, Costs & Experiences in the 24/7Read more
 -
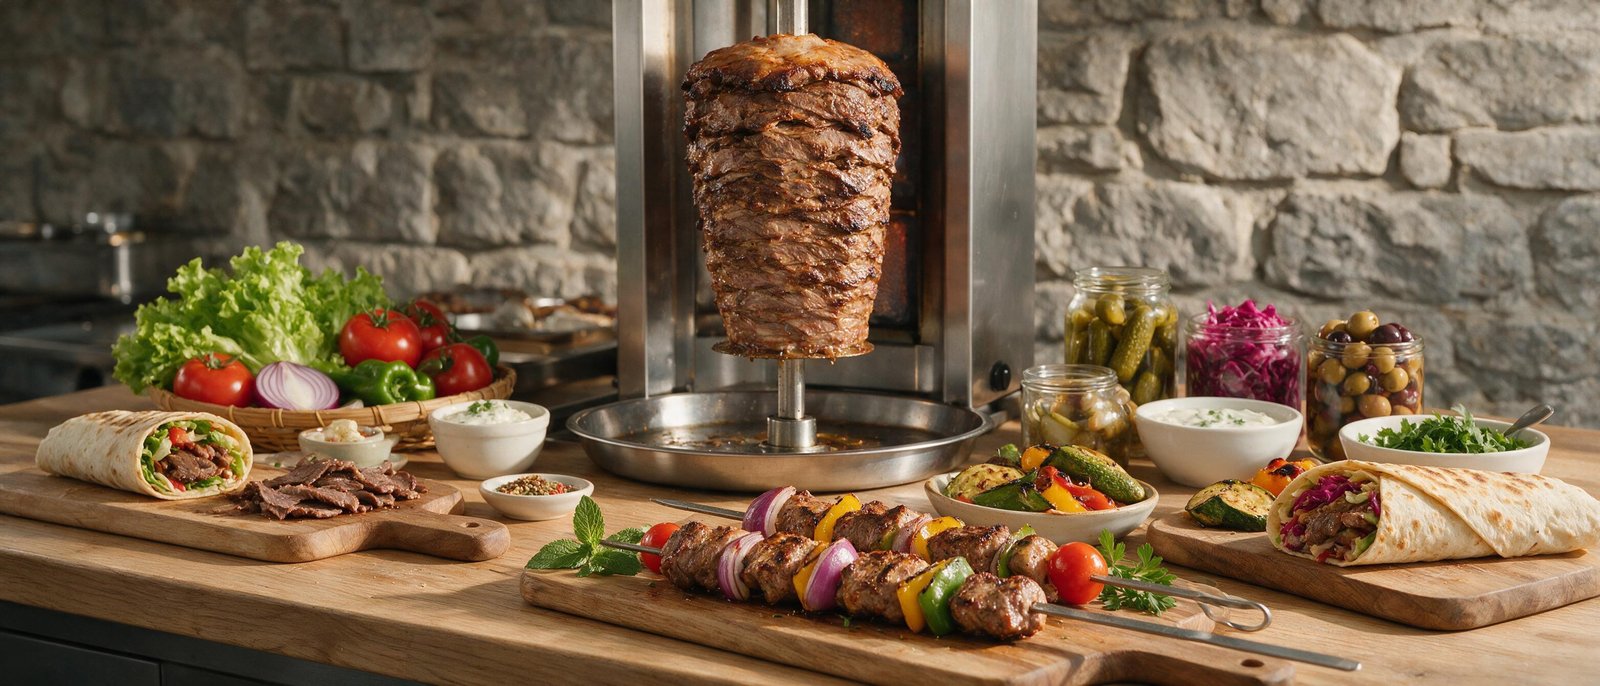 Döner vs. Shawarma vs. Kebab: Understanding the Terms and Differences for Your Food BusinessRead more
Are you confused about the difference between Döner, Shawarma, and Kebab? These popular meat dishes, often seen on...
-
 The 10 Best Döner Kebabs in Berlin (2026): The Ultimate Ranking Based on Real Customer ReviewsRead more
Berlin is the undisputed döner capital of the world. But with over 1,000 shops, the question arises: Which one is...
-
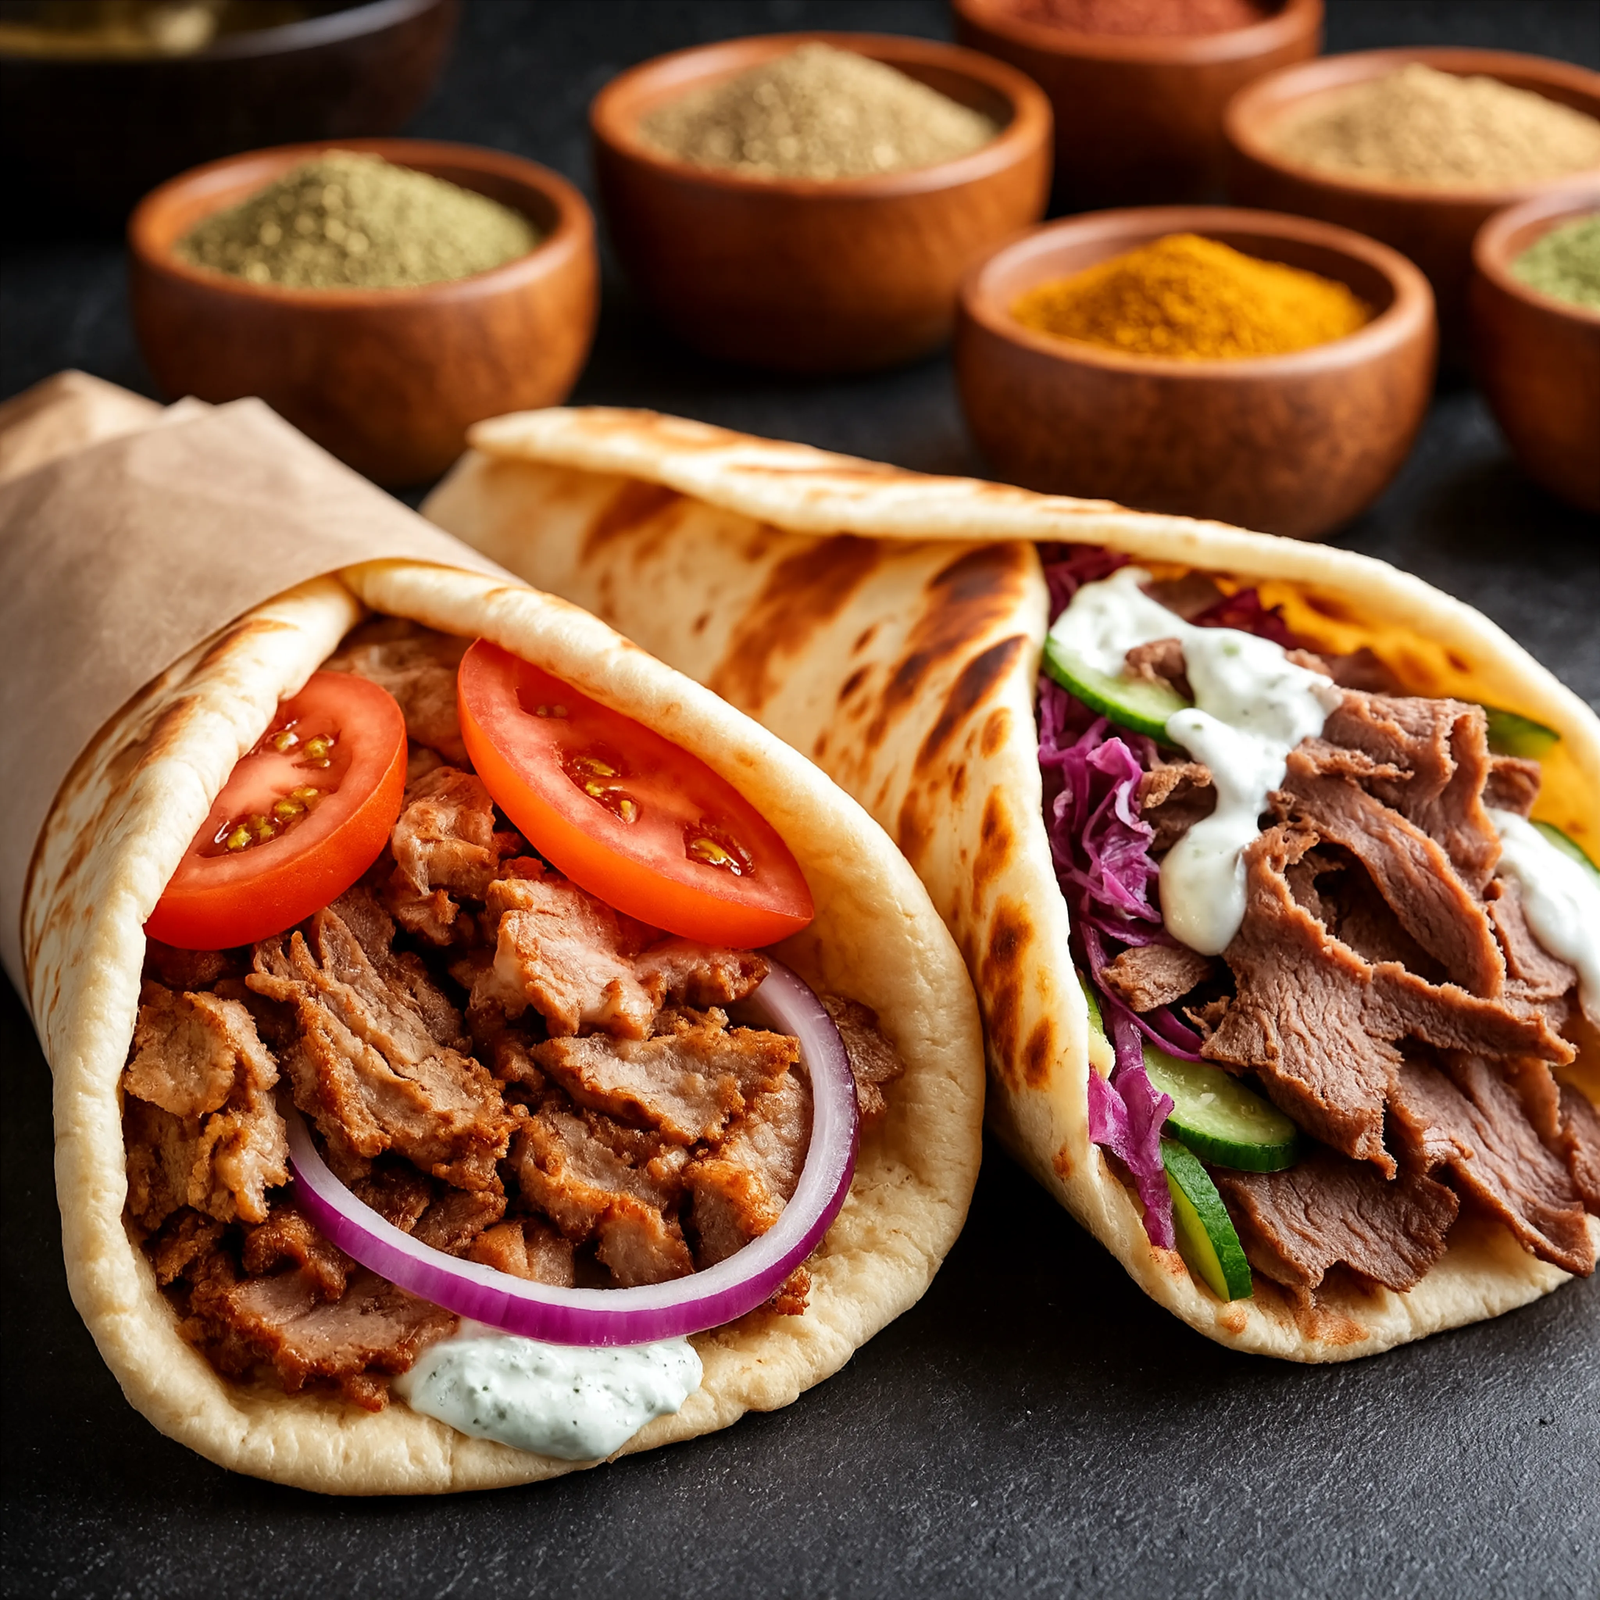 Gyros vs. Döner: Understanding the Differences in Preparation, Seasoning, and Meat Selection for Your MenuRead more
Gyros and Döner are two iconic Mediterranean dishes often confused due to their similar appearance and cooking style....
-
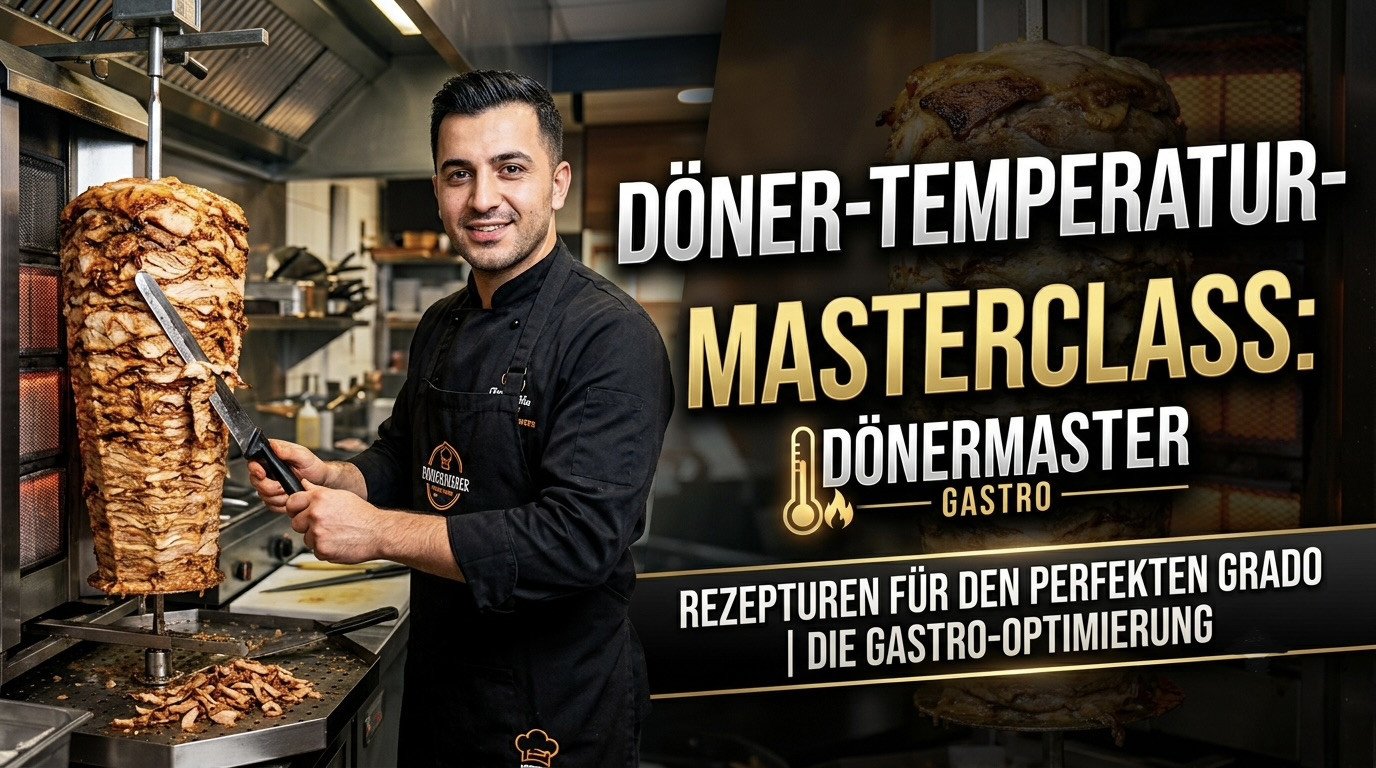 Welche Temperatur braucht ein Dönergrill? Richtwerte für die Gastronomie → Optimale Garzeiten und Temperaturen für perfekte ErgebnisseRead more
Der Dönergrill ist das Herzstück jeder Döner-Gastronomie. Die richtige Temperatur am Grill entscheidet maßgeblich...
-
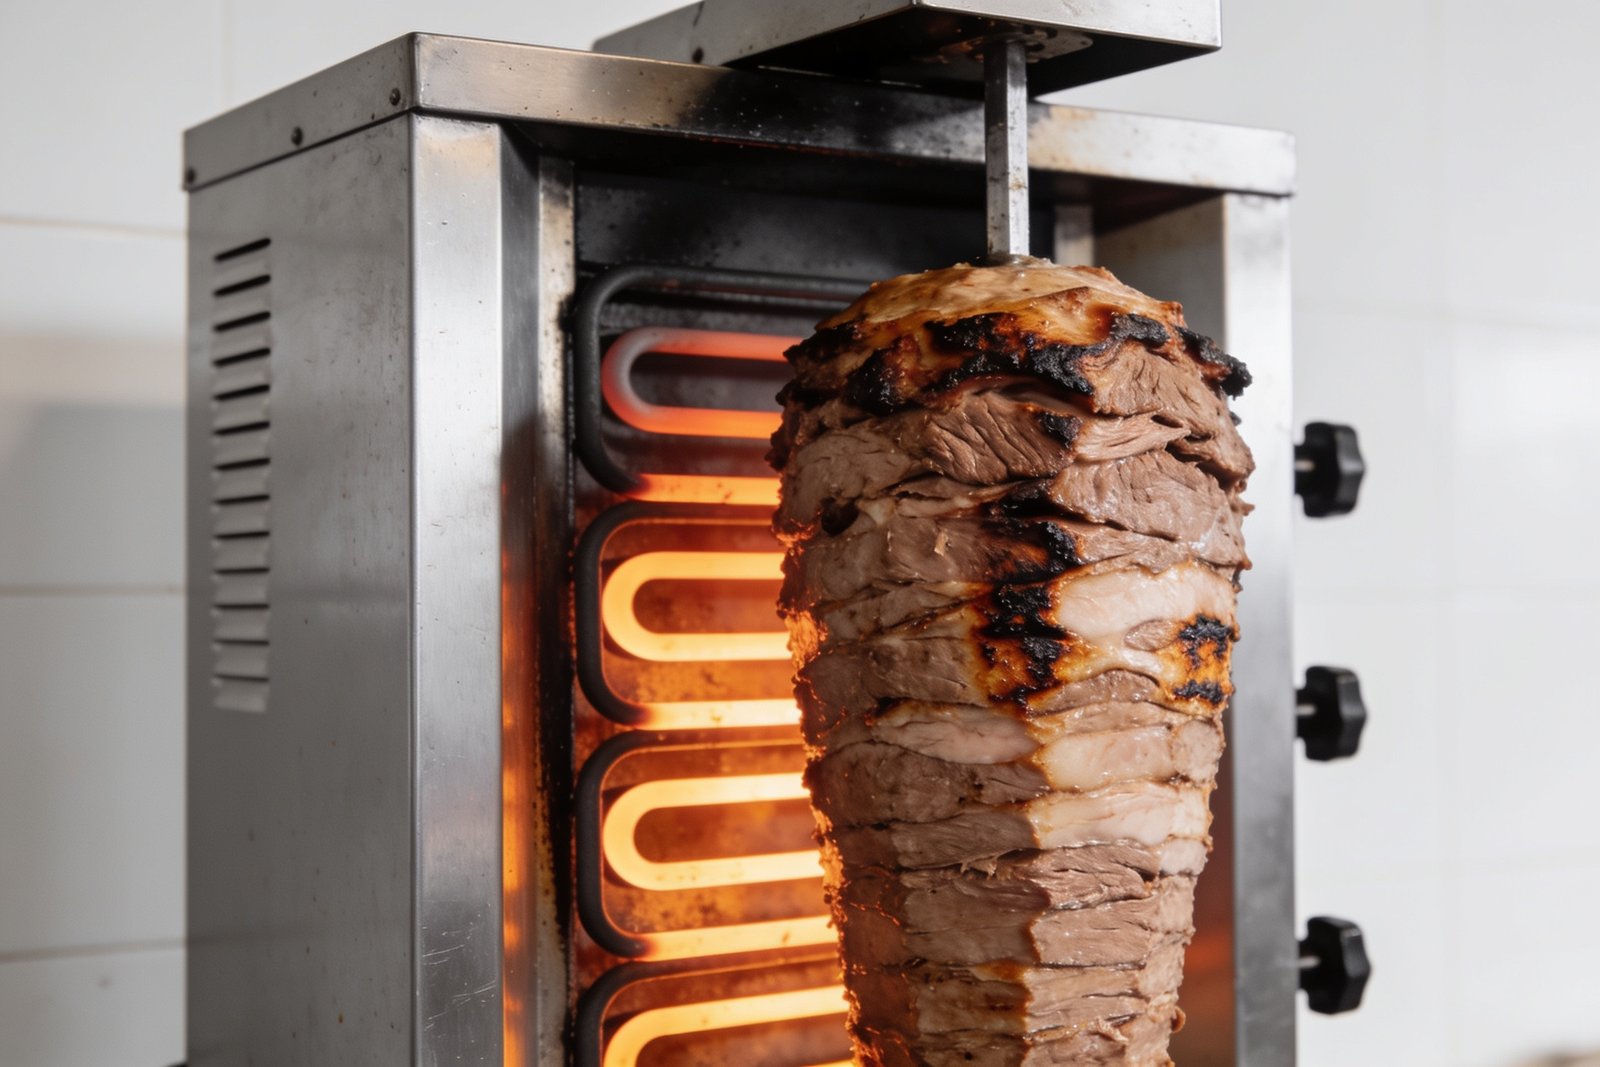 Döner Grill Heating Unevenly? Troubleshooting & Solutions → Recognize and Professionally Fix Common Device ProblemsRead more
Is your Döner grill heating unevenly? This can lead to poorly cooked meat and frustrated customers. In this guide, we...
-
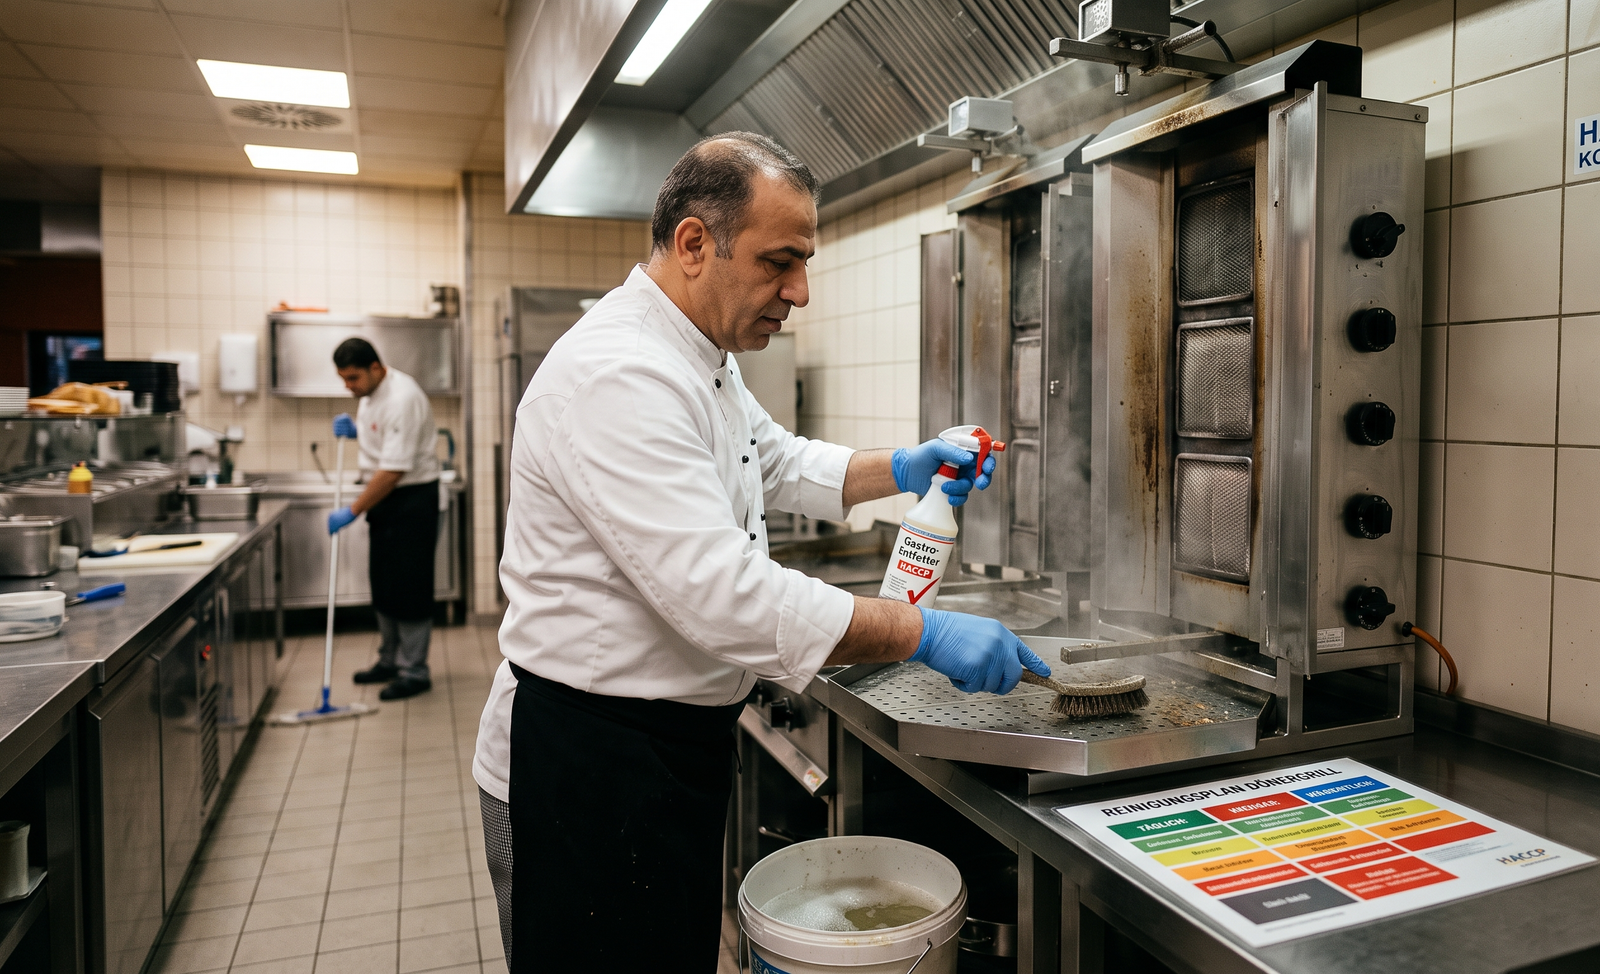 Proper Cleaning of Döner Grills: Care & Hygiene in Gastronomy → Equipment Cleaning According to HACCP Guidelines and Food Hygiene Regulations (LMHV)Read more
The Döner grill is a staple in many gastronomy businesses, and proper cleaning is essential to maintain hygiene and...
-
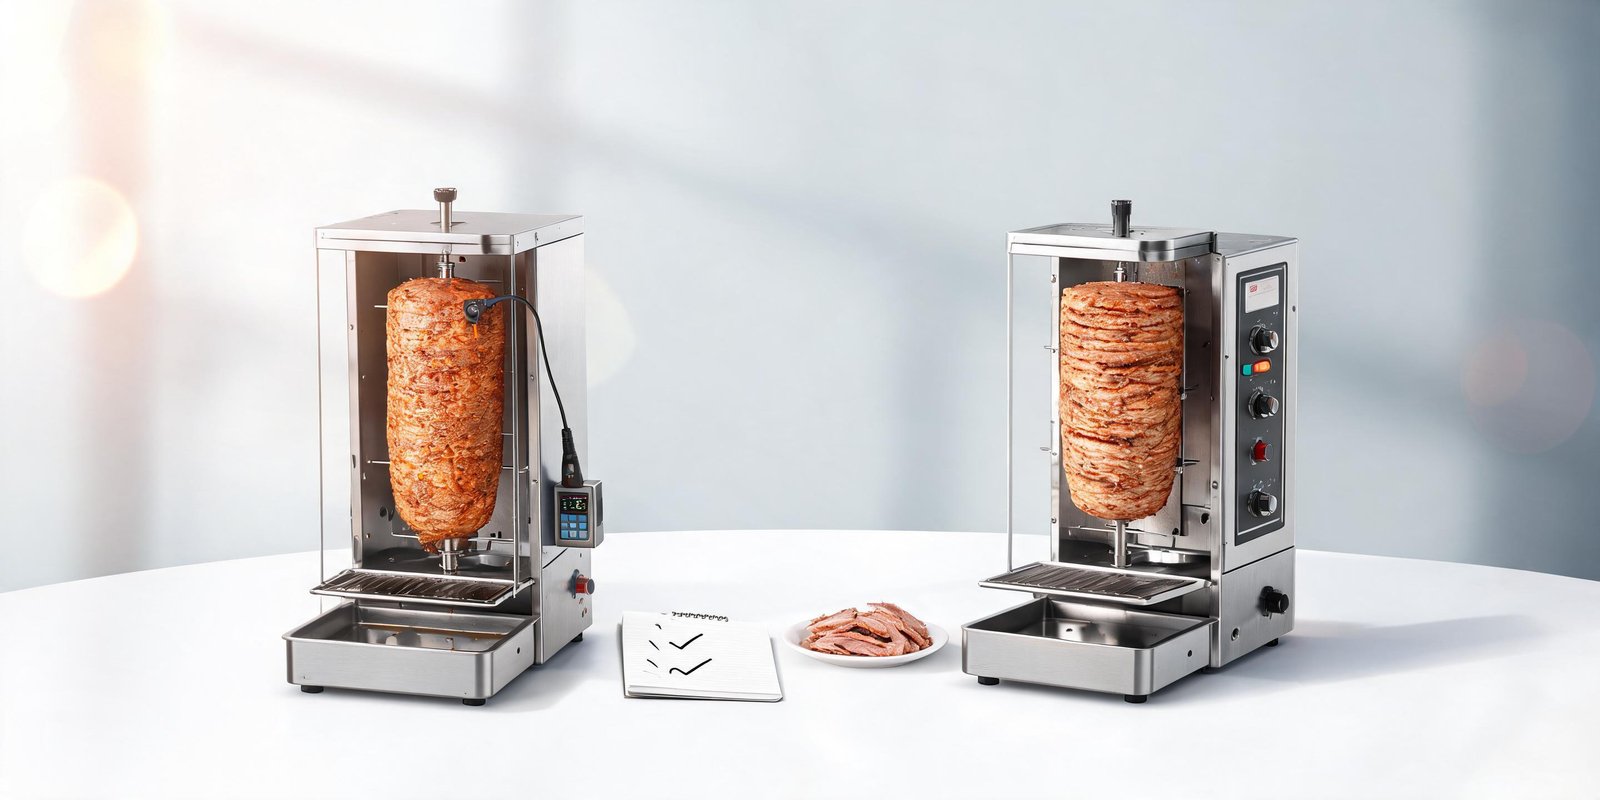 Commercial Döner Grill Tests & Reviews Overview → Make Informed Purchase Decisions with Current Product ComparisonsRead more
Choosing the right commercial Döner grill is essential for any food business specializing in this popular dish. This...
-
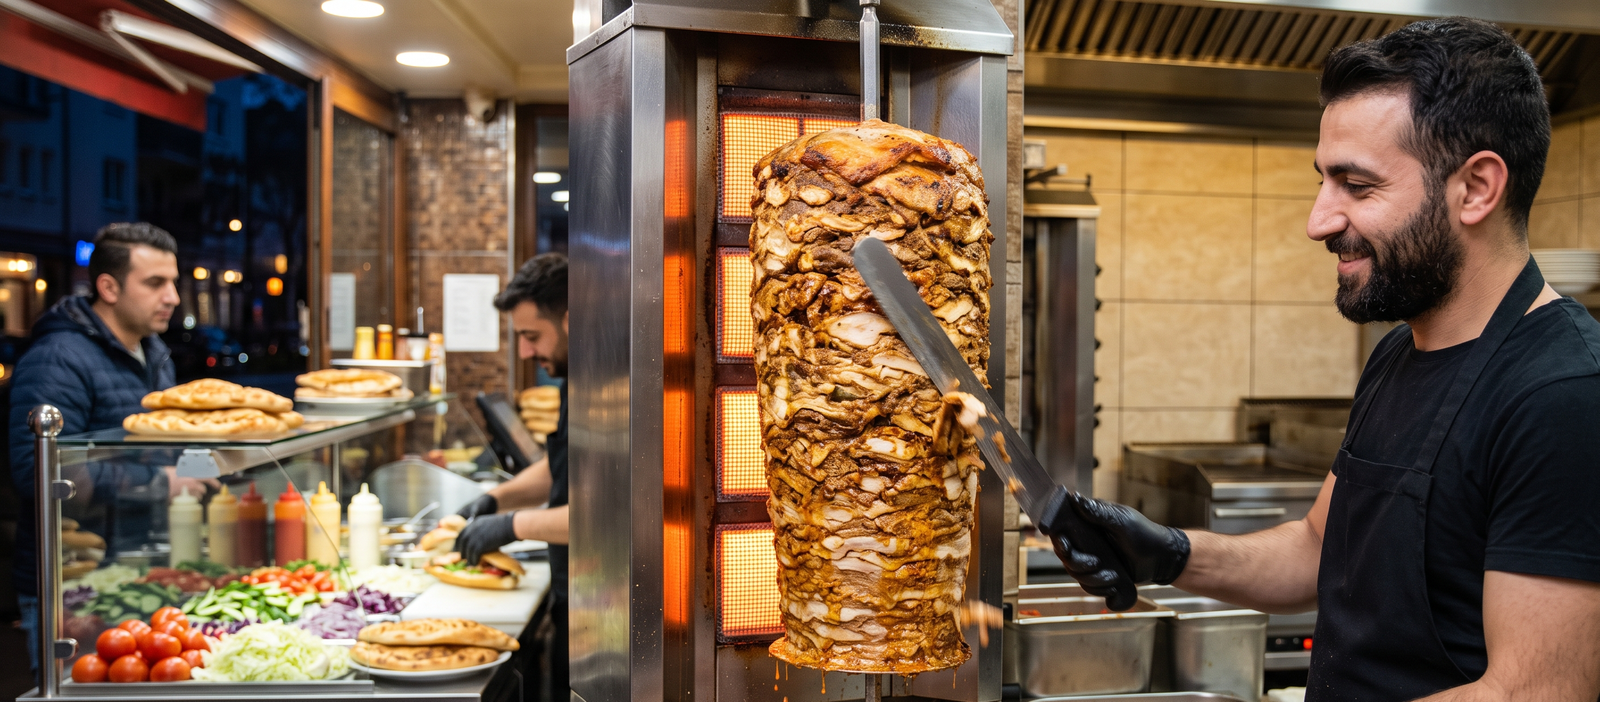 Why Is Döner Meat Grilled Vertically? Technology & Advantages Explained → The Functionality of the Vertical Grill and Its Benefits for the Gastronomy IndustryRead more
Döner kebab is famous worldwide for its juicy, flavorful meat cooked on a vertical spit. But why is the meat grilled...
-
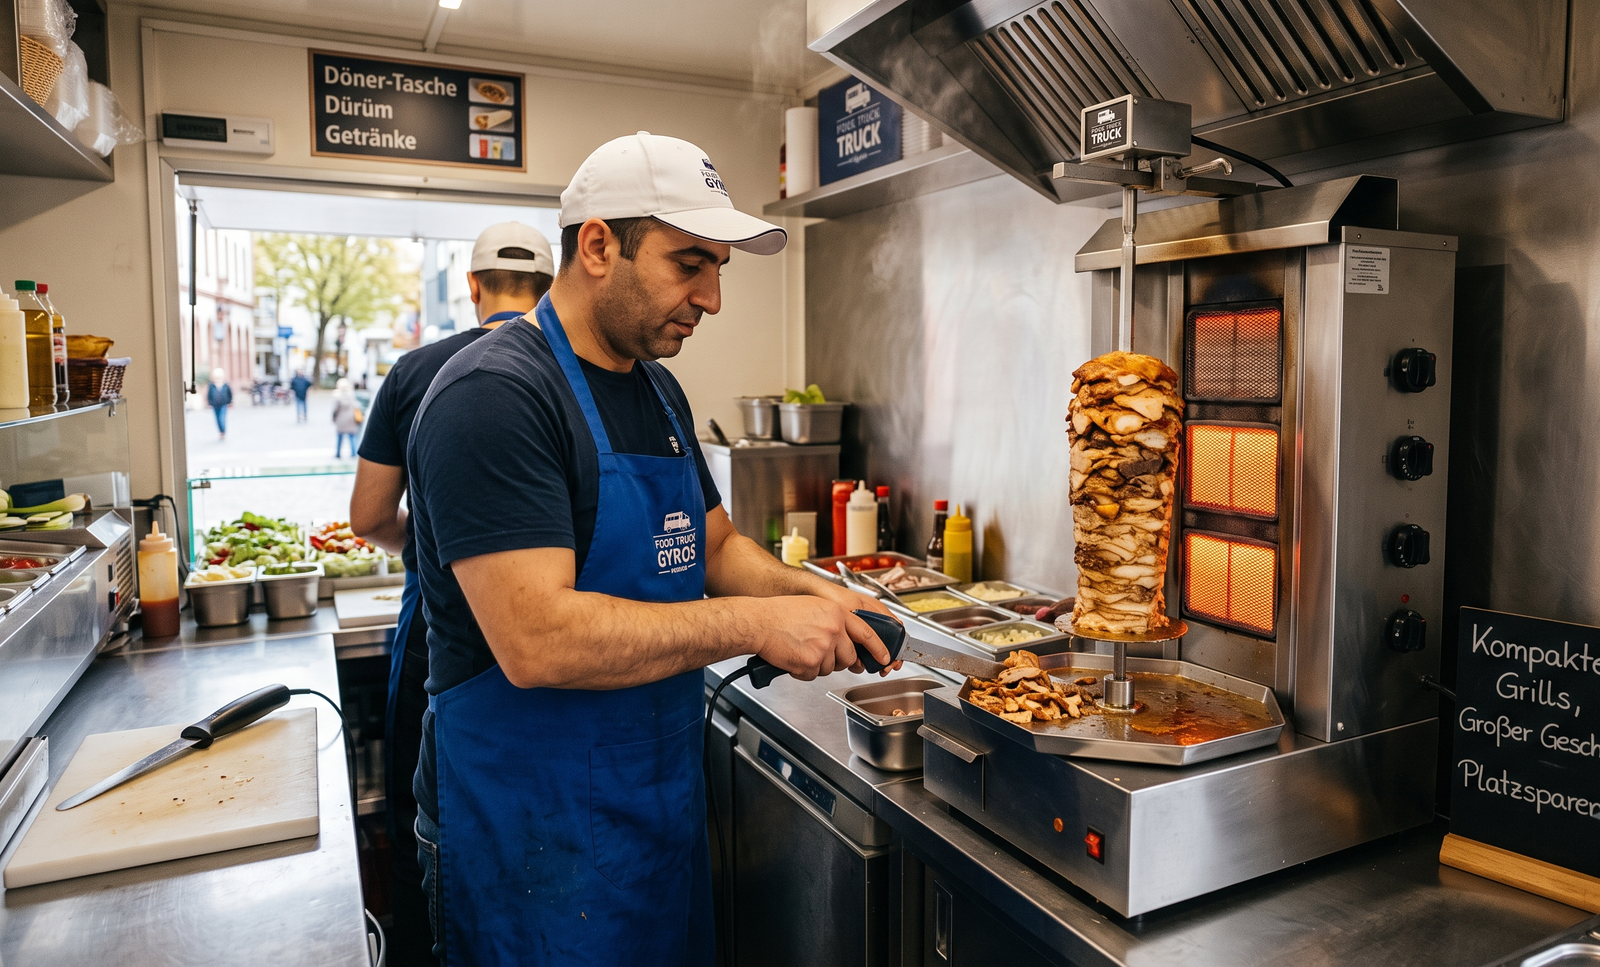 Compact Döner Grills for Small Snack Bars & Food Trucks → Space-Saving Solutions for Limited SpacesRead more
Small snack bars and food trucks often struggle with limited space, making it challenging to accommodate large...
Blog categories
Search in blog
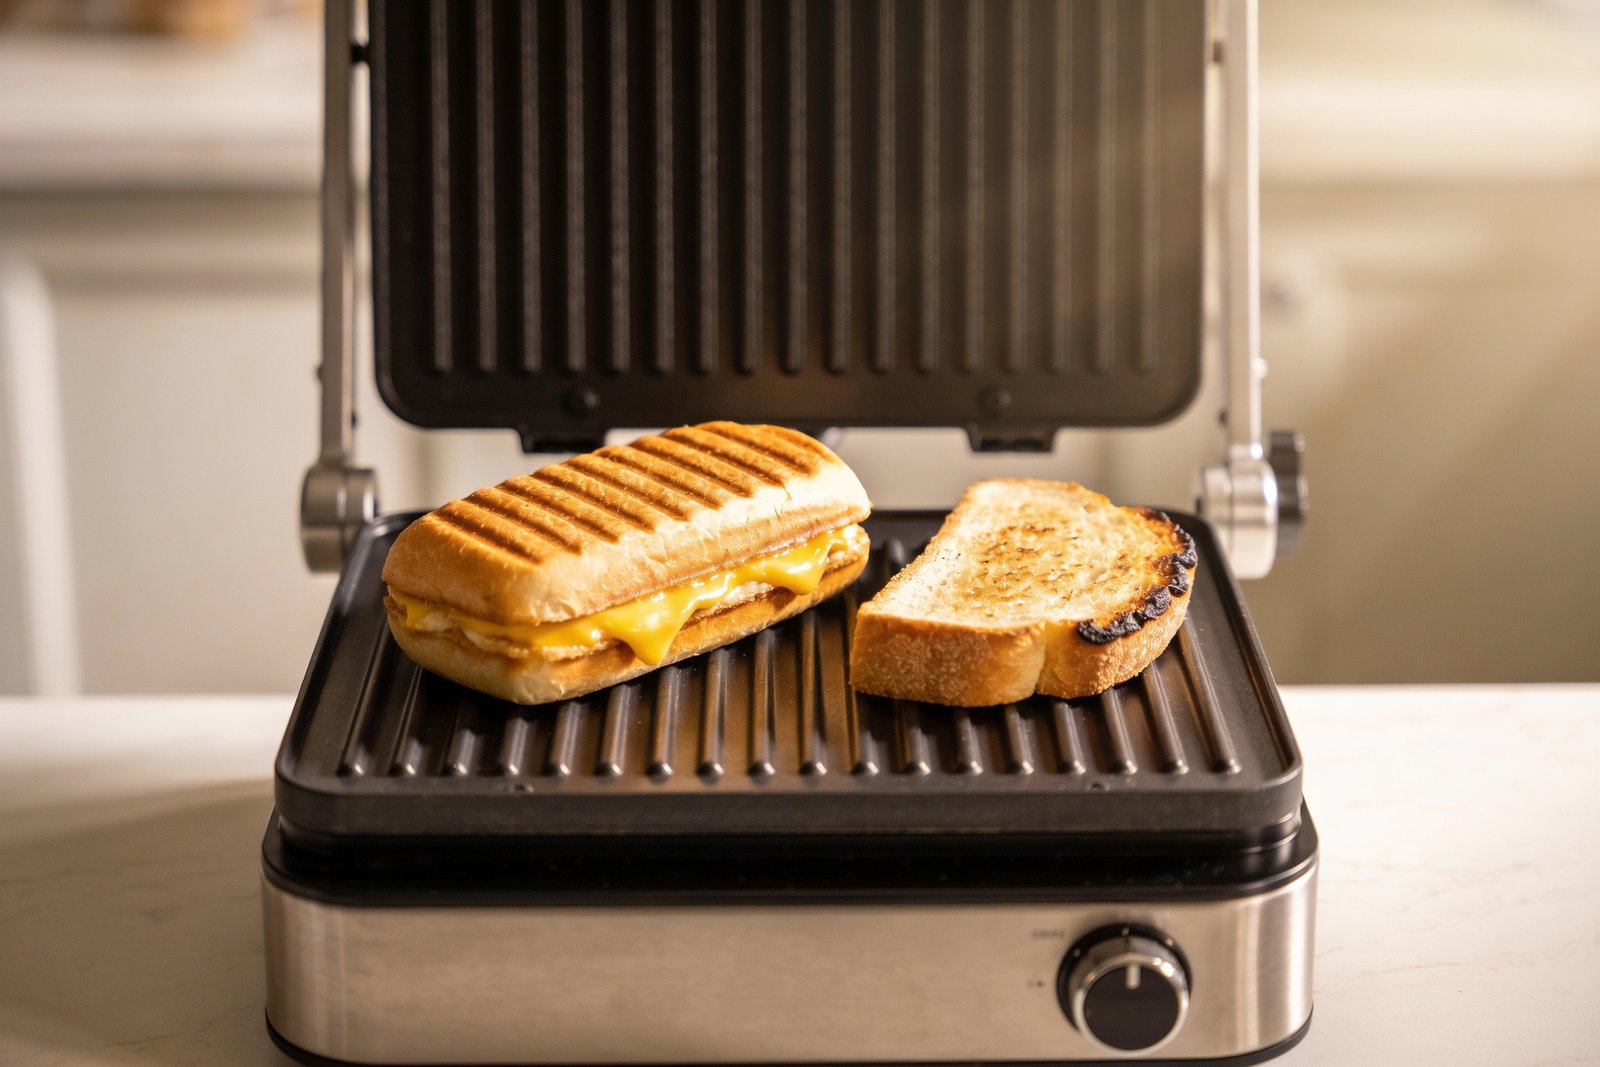
Fry Top for Panini and Toast: Does It Work Well?
Fry Top for Panini and Toast: Does It Work Well?
When it comes to making delicious panini and perfectly toasted sandwiches, the choice of cooking equipment can make a significant difference. Among the many options available, the fry top has gained attention as a versatile cooking surface. But does a fry top really work well for panini and toast? In this comprehensive guide, we’ll explore everything you need to know about using a fry top for these popular snacks.
What is a Fry Top?
A fry top, also known as a griddle, is a flat cooking surface typically made of cast iron, stainless steel, or carbon steel. It is heated from below, providing an even and consistent heat source across the entire surface. Fry tops are widely used in professional kitchens and are prized for their ability to cook a variety of foods quickly and evenly.
Unlike traditional frying pans or sandwich presses, a fry top offers a large, flat surface that can accommodate multiple items at once. This makes it an excellent choice for busy kitchens or anyone who wants to prepare several panini or toasts simultaneously.
Why Consider a Fry Top for Panini and Toast?
Panini and toast require a cooking method that delivers even heat, good pressure, and the ability to crisp the bread while melting the fillings inside. Traditional panini presses or sandwich makers are designed specifically for this purpose, but they can be limited in size and flexibility.
A fry top offers several advantages:
- Large Cooking Surface: You can prepare multiple sandwiches at once, saving time.
- Even Heat Distribution: The flat surface ensures consistent cooking without hot spots.
- Versatility: Besides panini and toast, you can cook eggs, bacon, vegetables, and more.
- Customizable Pressure: While a fry top doesn’t have a built-in press, you can use weights or spatulas to apply pressure as needed.
How to Use a Fry Top for Panini and Toast
Using a fry top for panini and toast is straightforward but requires some technique to get the best results. Here’s a step-by-step guide:
- Preheat the Fry Top: Heat the fry top to medium-high heat. It should be hot enough to sizzle the bread but not so hot that it burns quickly.
- Prepare Your Sandwich: Assemble your panini or toast with your preferred fillings.
- Oil or Butter the Bread: Lightly butter or oil the outside of the bread to promote browning and prevent sticking.
- Place Sandwich on Fry Top: Put the sandwich on the hot surface.
- Apply Pressure: Use a heavy spatula, a cast iron press, or any flat weight to press down on the sandwich. This simulates the effect of a panini press.
- Cook and Flip: Cook for 3-5 minutes, then carefully flip the sandwich and press again. Continue until both sides are golden brown and the fillings are heated through.
- Remove and Serve: Take the sandwich off the fry top, let it cool slightly, then enjoy!
Benefits of Using a Fry Top for Panini and Toast
There are several benefits to using a fry top for panini and toast, especially if you already have one in your kitchen or are considering investing in one.
1. Capacity and Efficiency
If you’re preparing food for a crowd, a fry top’s large surface area allows you to cook multiple sandwiches at once. This is far more efficient than a single panini press, which can only handle one or two sandwiches at a time.
2. Versatility
A fry top isn’t limited to sandwiches. You can cook eggs, bacon, pancakes, vegetables, and more, making it a multipurpose tool in your kitchen.
3. Control Over Cooking
With a fry top, you have full control over the heat level and cooking time, allowing you to customize the browning and melting to your preference.
4. Durability
Fry tops are typically built to last, especially those made from cast iron or stainless steel. They can withstand heavy use and high temperatures without warping or damage.
Drawbacks and Considerations
While fry tops have many advantages, there are some drawbacks to consider when using them for panini and toast.
1. Lack of Built-in Press
Unlike dedicated panini presses, fry tops don’t have a hinged top plate to press the sandwich evenly. You’ll need to improvise with weights or spatulas, which may not provide uniform pressure.
2. Manual Flipping Required
You’ll need to flip the sandwiches manually to toast both sides evenly. This requires attention and can be tricky if you’re cooking multiple sandwiches at once.
3. Cleaning and Maintenance
Fry tops can be more challenging to clean than sandwich makers because of their large size and flat surface. Proper seasoning and cleaning are essential to maintain a non-stick surface.
4. Space and Portability
Fry tops are generally larger and heavier than panini presses, so they require more counter space and are less portable.
Tips for Getting the Best Results
To maximize the performance of your fry top when making panini and toast, keep these tips in mind:
- Preheat Properly: Give your fry top enough time to reach the right temperature before cooking.
- Use Butter or Oil: This helps prevent sticking and promotes a golden crust.
- Apply Even Pressure: Use a heavy, flat object to press the sandwich evenly.
- Monitor Cooking Time: Avoid burning by flipping sandwiches at the right moment.
- Season Your Fry Top: Regularly season cast iron or carbon steel fry tops to maintain a natural non-stick surface.
- Clean After Use: Clean while still warm, using a scraper or cloth, and avoid soap if possible to preserve seasoning.
Comparing Fry Top to Other Cooking Methods
It’s helpful to compare the fry top with other popular methods for making panini and toast:
Panini Press
- Pros: Built-in press applies even pressure, easy to use, compact.
- Cons: Limited capacity, less versatile.
Toaster Oven
- Pros: Can toast multiple sandwiches, less manual effort.
- Cons: May not deliver the crispy crust of a griddle or press.
Skillet or Frying Pan
- Pros: Easy to use, affordable, versatile.
- Cons: Small cooking surface, uneven heat distribution.
Fry Top
- Pros: Large surface, even heat, versatile.
- Cons: No built-in press, requires manual flipping, larger and heavier.
Who Should Use a Fry Top for Panini and Toast?
A fry top is an excellent choice for:
- Home cooks with space: If you have the counter space and want a versatile cooking tool.
- Small cafes and food trucks: Where multiple sandwiches need to be prepared quickly.
- Cooking enthusiasts: Who enjoy experimenting with different cooking techniques and foods.
However, if you only make panini occasionally or have limited space, a dedicated panini press or sandwich maker might be more convenient.
Conclusion: Does a Fry Top Work Well for Panini and Toast?
The answer is a qualified yes. A fry top can work very well for making panini and toast, especially if you value capacity, versatility, and control over the cooking process. While it lacks the convenience of a built-in press and requires some manual effort, the results can be just as delicious and satisfying.
With the right technique—preheating properly, applying pressure with a weight, and monitoring cooking times—you can achieve beautifully toasted sandwiches with crispy crusts and melted fillings. Plus, the added benefit of being able to cook a variety of other foods makes the fry top a valuable addition to many kitchens.
Ultimately, whether a fry top is the best choice depends on your specific needs, kitchen space, and cooking habits. But if you’re looking for a versatile, durable, and efficient cooking surface, it’s definitely worth considering.
Additional Resources
Enjoy your cooking adventures with your fry top, and happy sandwich making!
Related posts
-
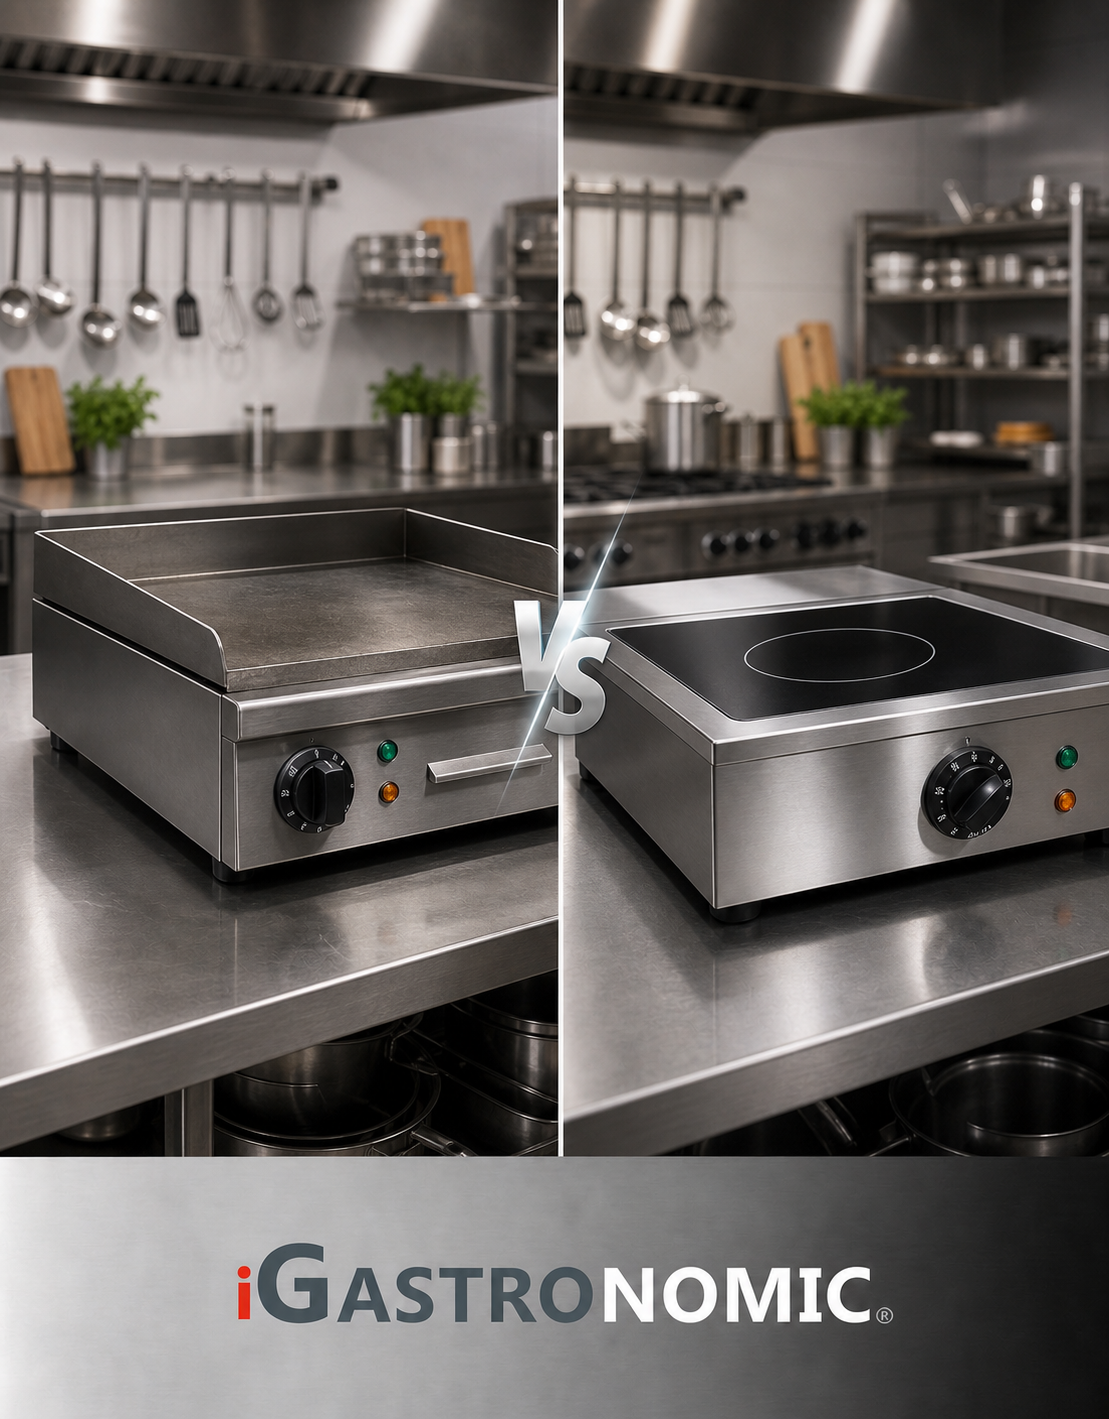 Fry Top vs Piastra Elettrica: Which One Should You Choose for Your Kitchen?
Choosing the right cooking appliance can transform your kitchen experience. Two popular options are the Fry Top and...Read more
Fry Top vs Piastra Elettrica: Which One Should You Choose for Your Kitchen?
Choosing the right cooking appliance can transform your kitchen experience. Two popular options are the Fry Top and...Read more -
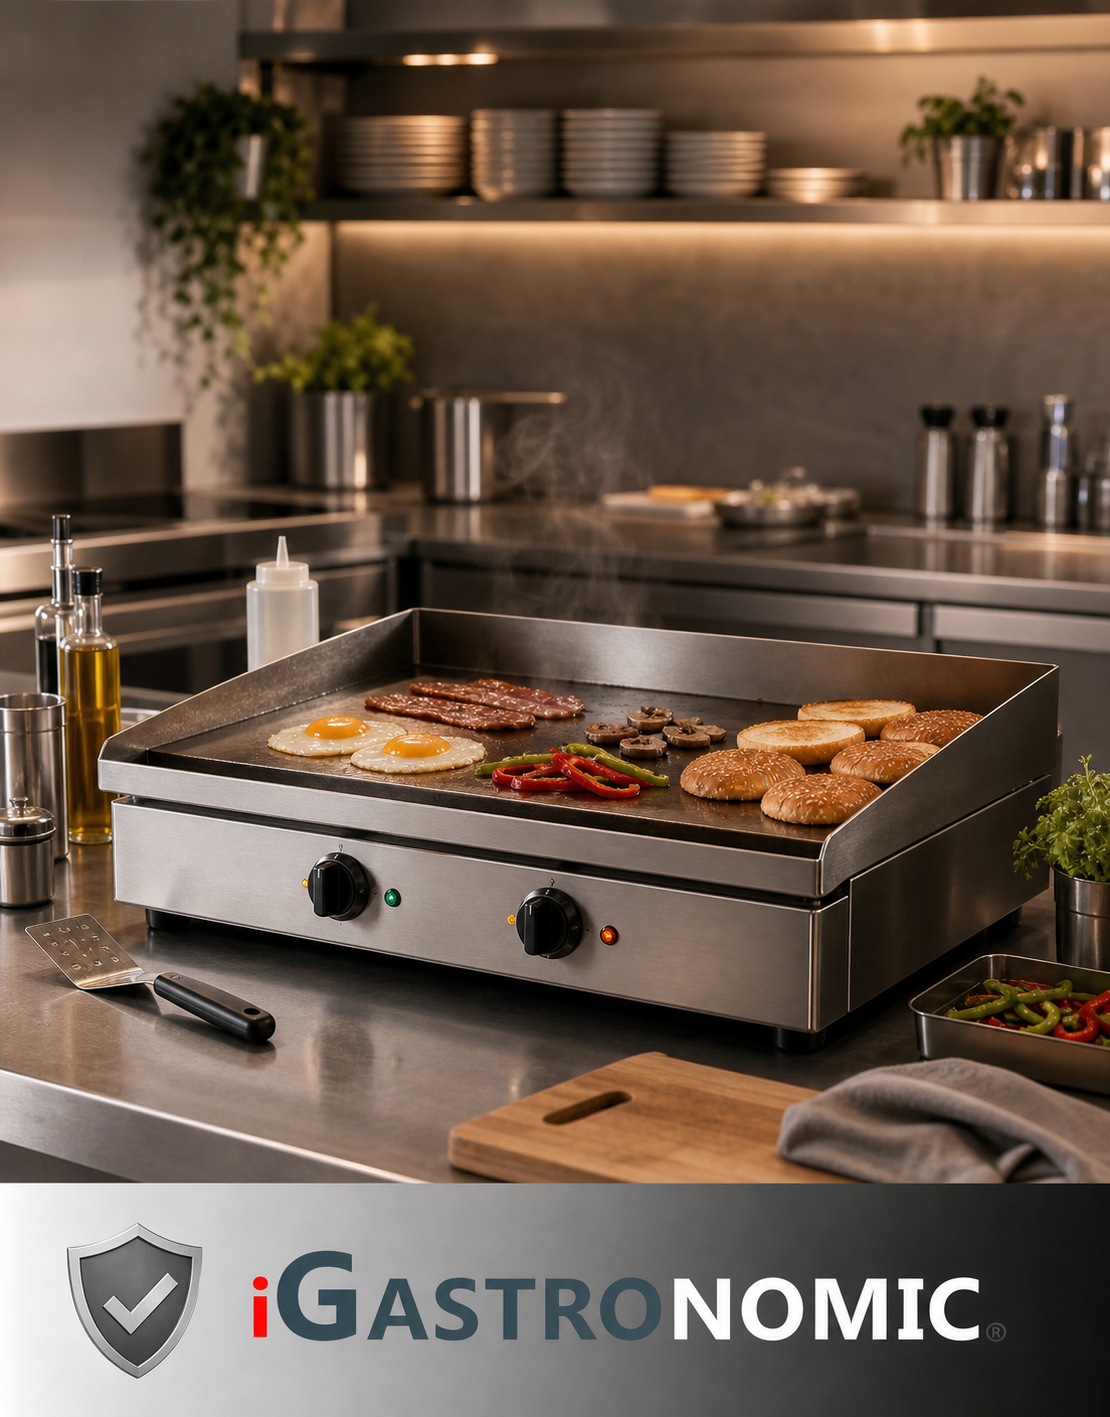 How to Use a Fry Top: A Complete Beginner's Guide
A fry top is a flat, smooth cooking surface that offers even heat distribution and a large area to cook multiple...Read more
How to Use a Fry Top: A Complete Beginner's Guide
A fry top is a flat, smooth cooking surface that offers even heat distribution and a large area to cook multiple...Read more -
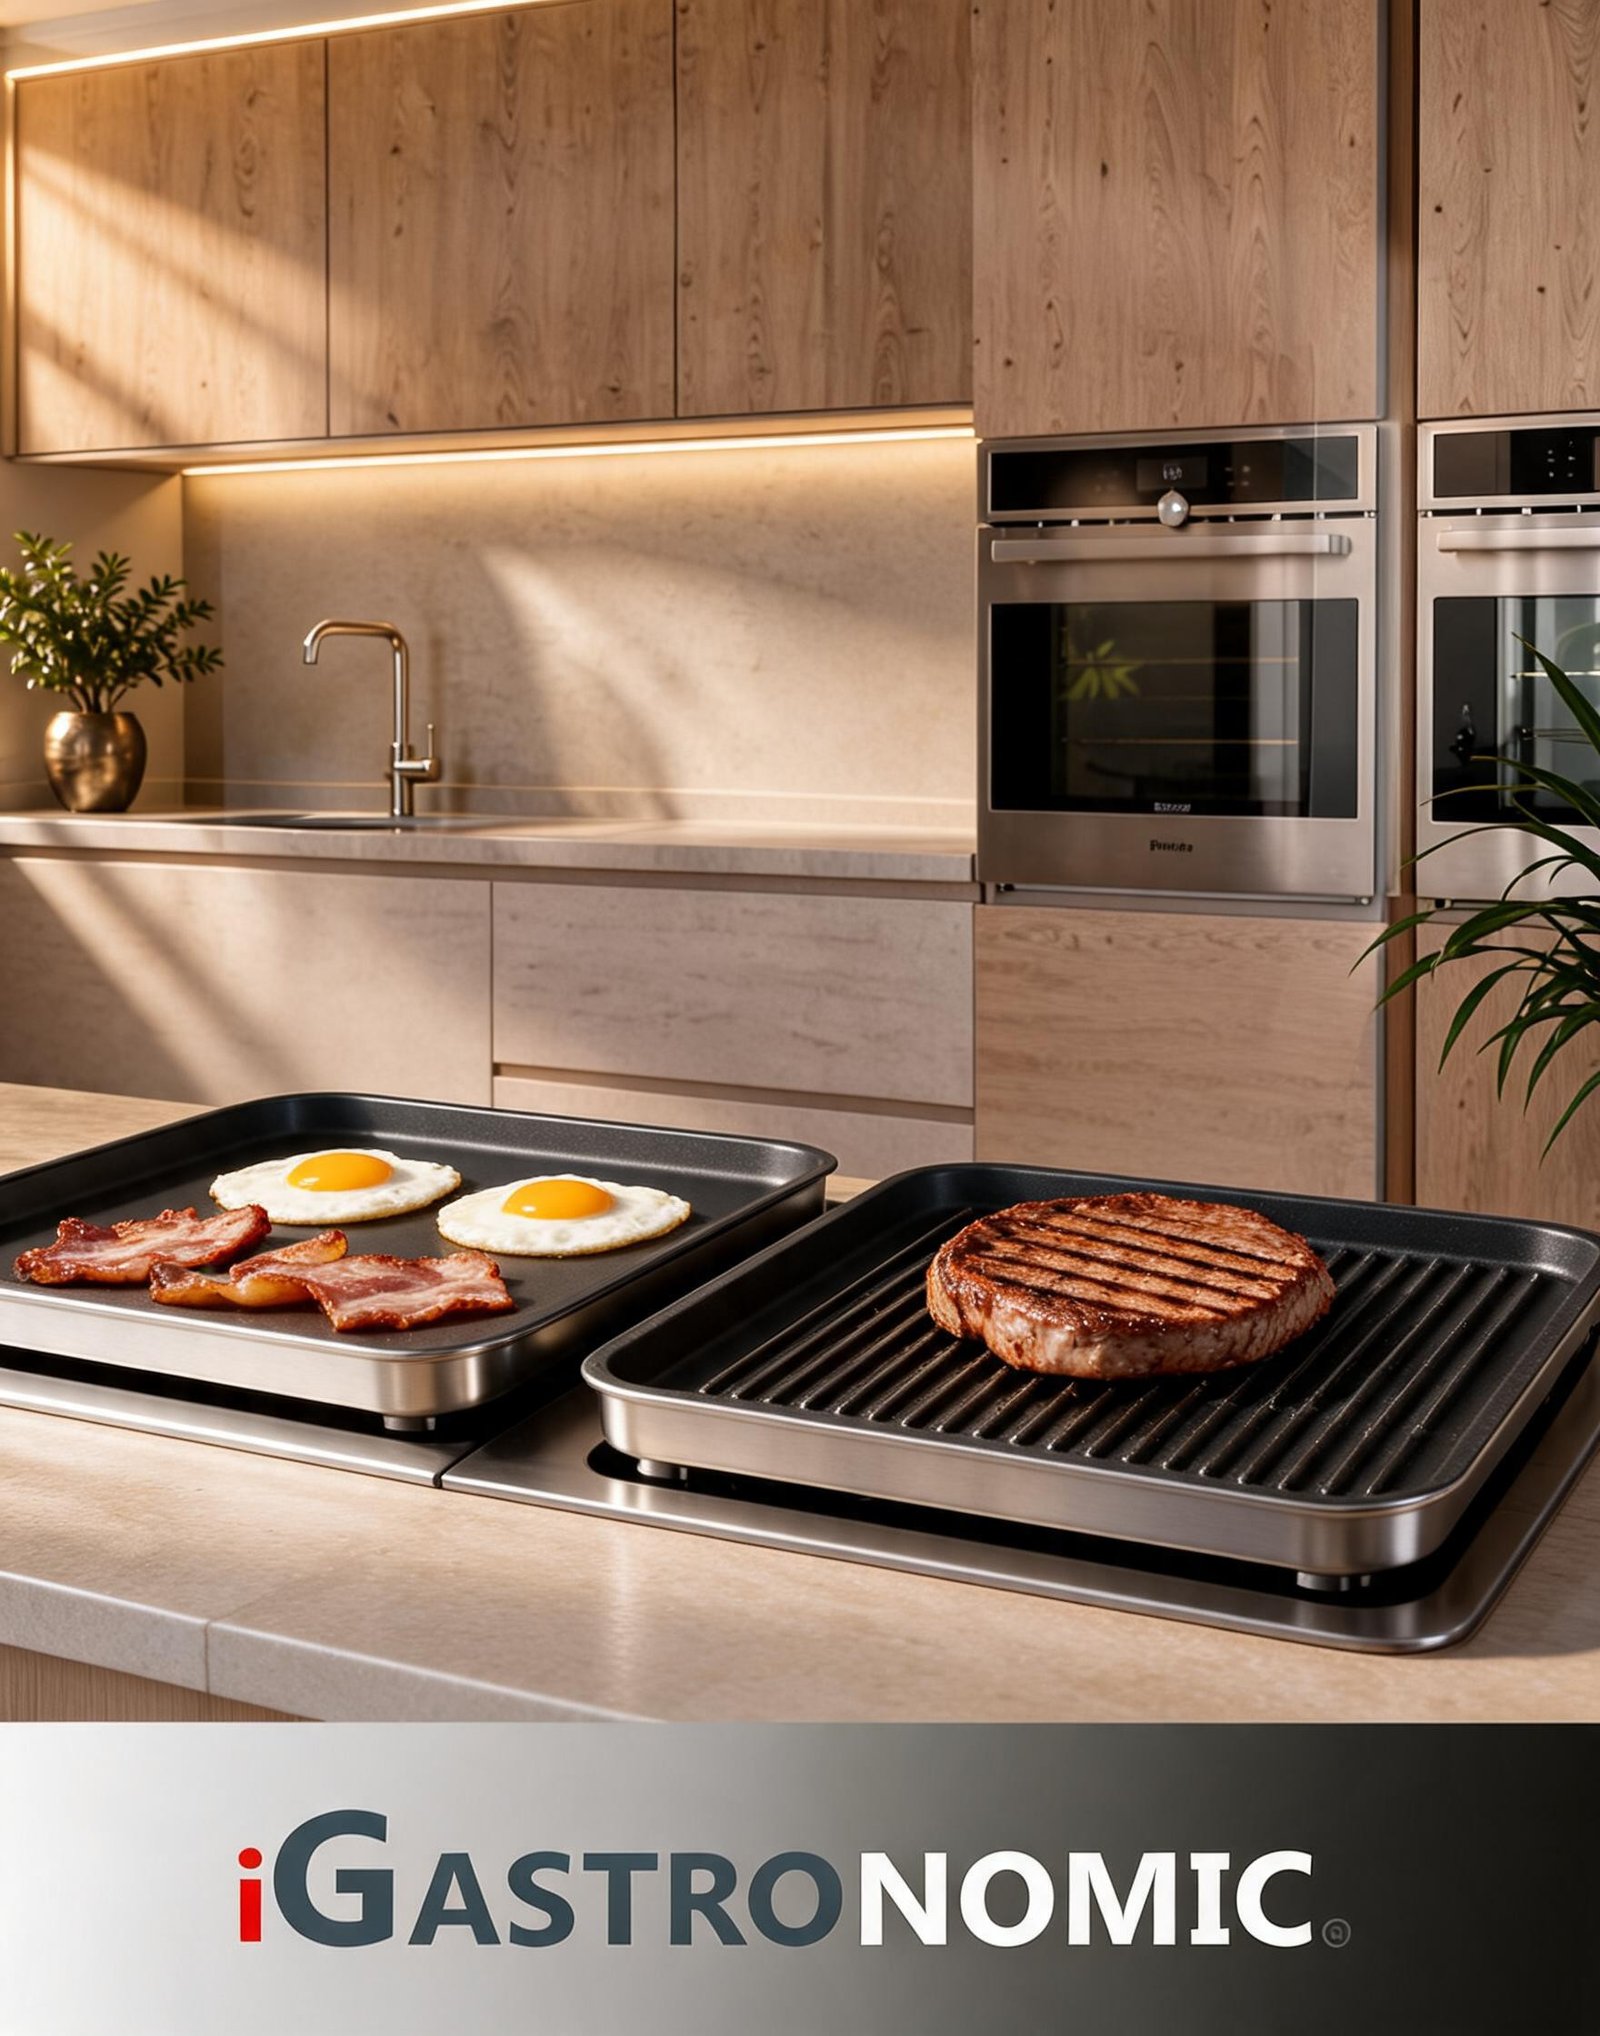 Fry Top Smooth or Ribbed? Which Is Better for Cooking?
Choosing between a smooth (liscio) and ribbed (rigato) fry top can significantly impact your cooking experience....Read more
Fry Top Smooth or Ribbed? Which Is Better for Cooking?
Choosing between a smooth (liscio) and ribbed (rigato) fry top can significantly impact your cooking experience....Read more -
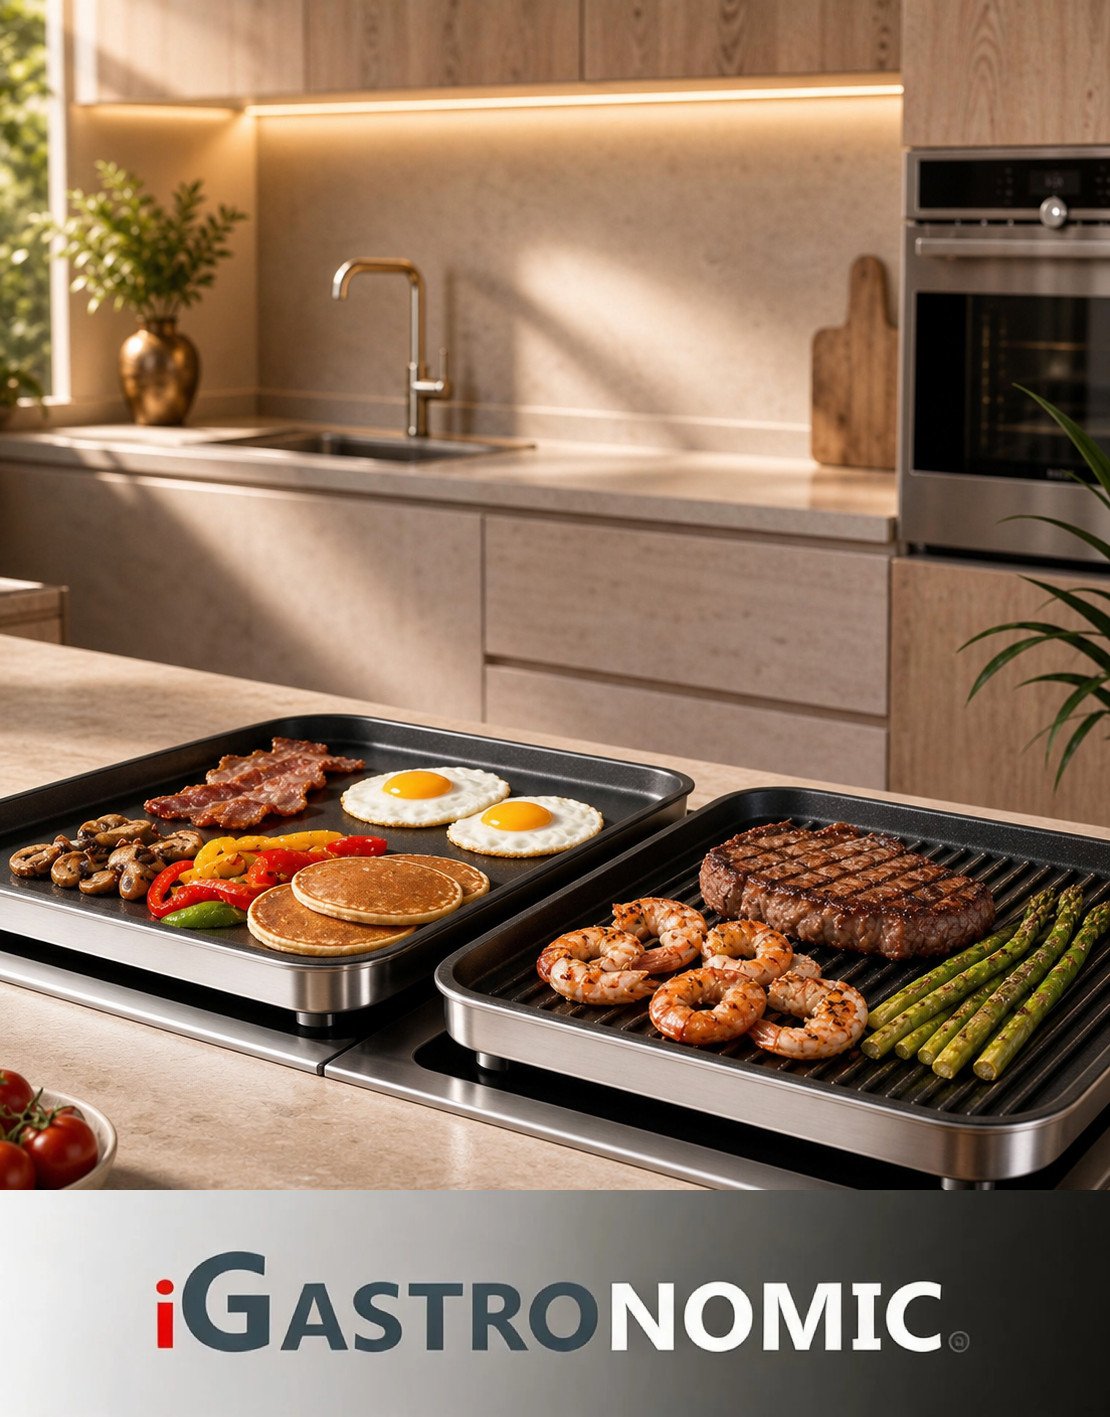 What Can You Cook on an Electric Fry Top? A Complete Guide
An electric fry top is a versatile kitchen appliance that offers a large, evenly heated cooking surface perfect for a...Read more
What Can You Cook on an Electric Fry Top? A Complete Guide
An electric fry top is a versatile kitchen appliance that offers a large, evenly heated cooking surface perfect for a...Read more -
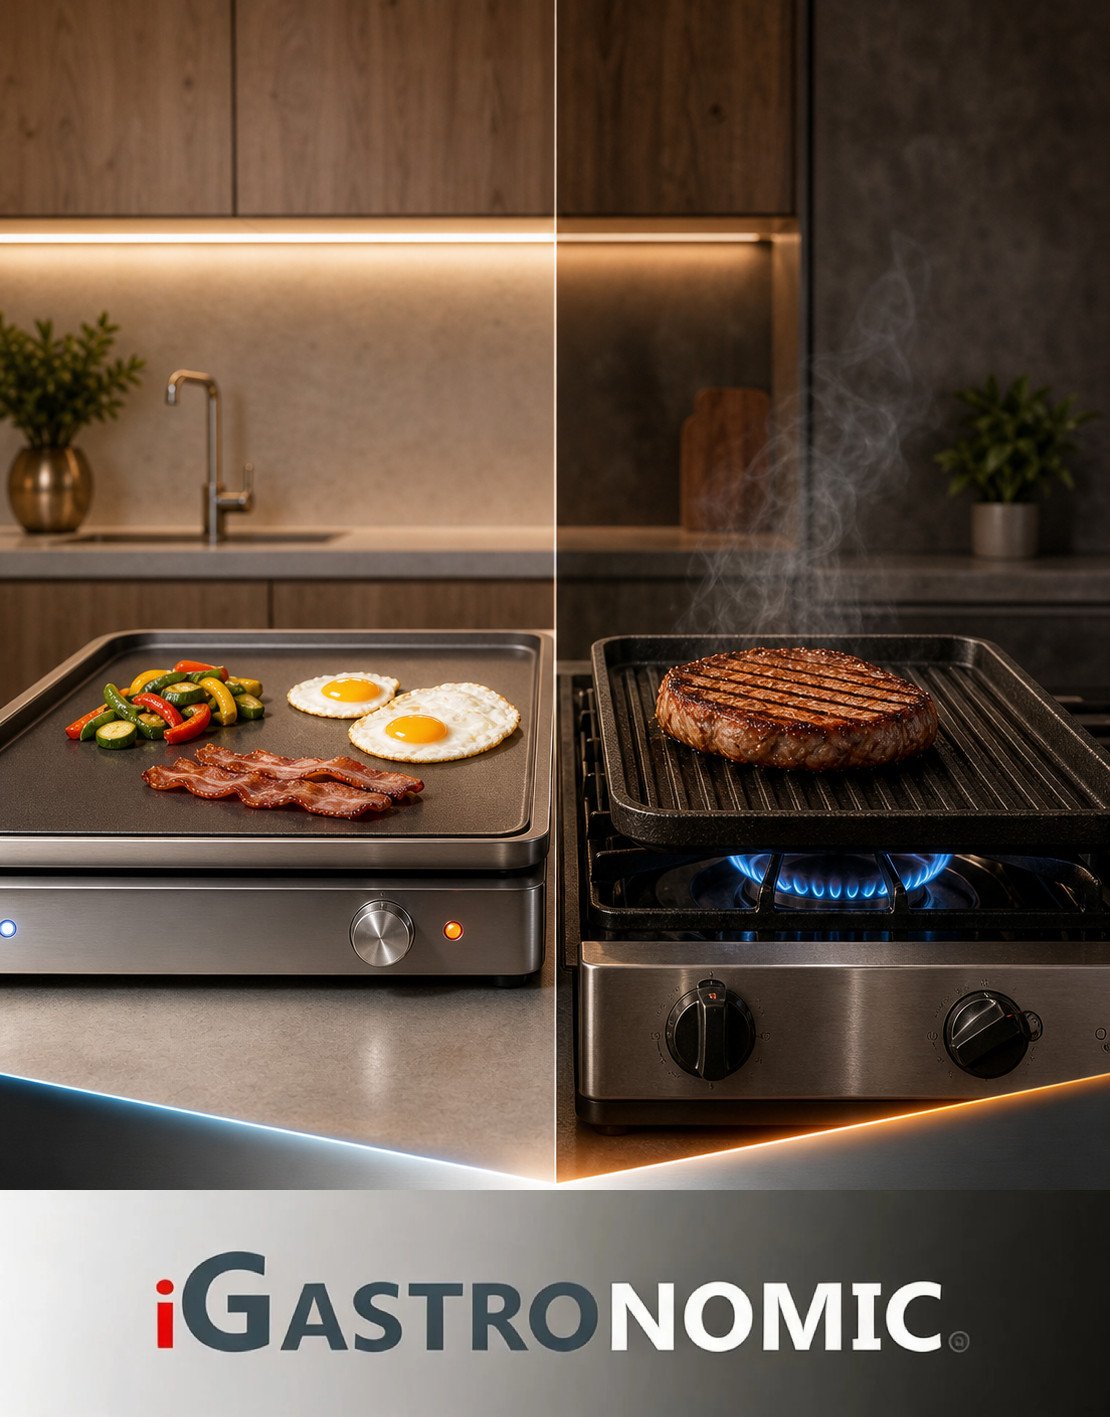 Electric Fry Top vs Gas: Advantages and Disadvantages Compared
Choosing between an electric and gas fry top can be challenging. Electric fry tops offer precise temperature control,...Read more
Electric Fry Top vs Gas: Advantages and Disadvantages Compared
Choosing between an electric and gas fry top can be challenging. Electric fry tops offer precise temperature control,...Read more
Leave a comment